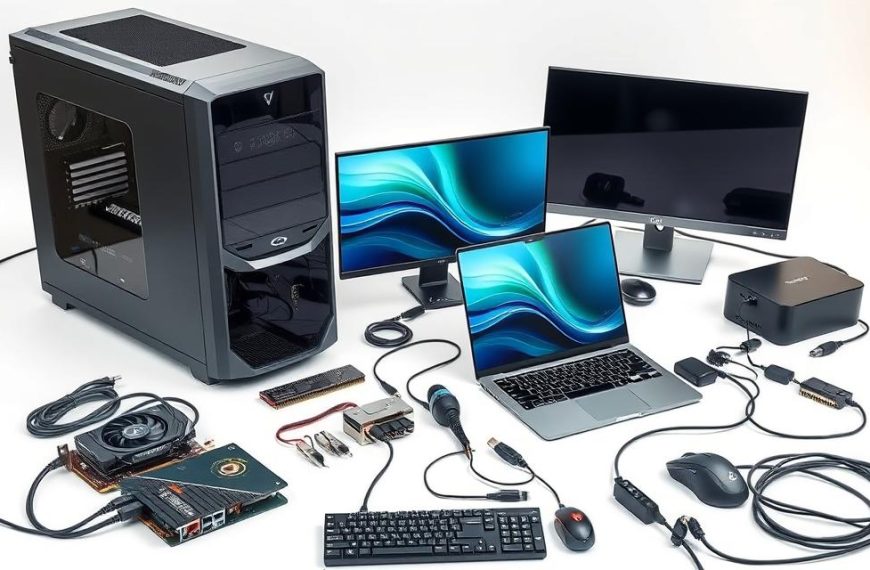
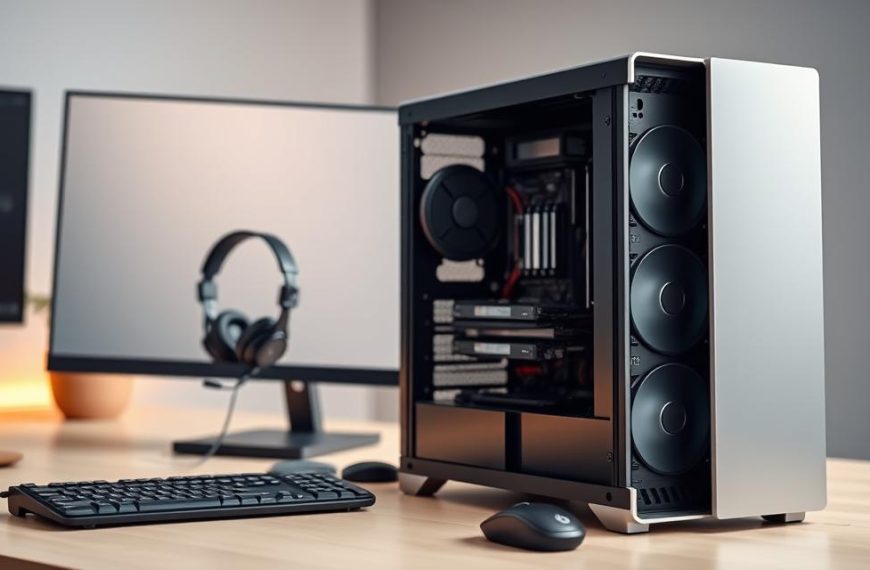
Computers rely on various components to function efficiently. Over time, parts like the GPU, SSD, RAM, and CPU can wear out, leading to potential system crashes. Proactive tests help identify issues before they escalate, saving you from costly repairs or data loss.
Built-in tools in Windows offer basic diagnostics, while third-party software provides more detailed insights. For example, undetected hardware problems can result in unexpected shutdowns or corrupted files. Regular checks ensure your system remains reliable and extends its lifespan.
This guide covers both simple and advanced methods for diagnosing computer issues. Whether you’re a home user or a professional, understanding these techniques can prevent disruptions and keep your device running smoothly.
Introduction to Hardware Testing
Proper care of internal parts enhances overall efficiency. Regular maintenance prevents unexpected breakdowns and ensures your system runs smoothly. Components like GPUs and SSDs are more prone to wear, while CPUs rarely fail with proper upkeep.
Heat generation and mechanical wear are primary causes of device failure. Dust accumulation in cooling systems can lead to overheating, reducing performance and lifespan. Cleaning fans and vents regularly is a simple yet effective preventive measure.
Creating a maintenance schedule helps track tasks like cleaning, updates, and diagnostics. Documenting these processes ensures consistency and provides a reference for troubleshooting. This practice is especially useful for identifying recurring issues.
Software glitches often stem from underlying hardware problems. For example, slow boot times might indicate a failing SSD. Addressing these issues early can prevent data loss and costly repairs.
“Preventive maintenance is always cheaper than emergency repairs.”
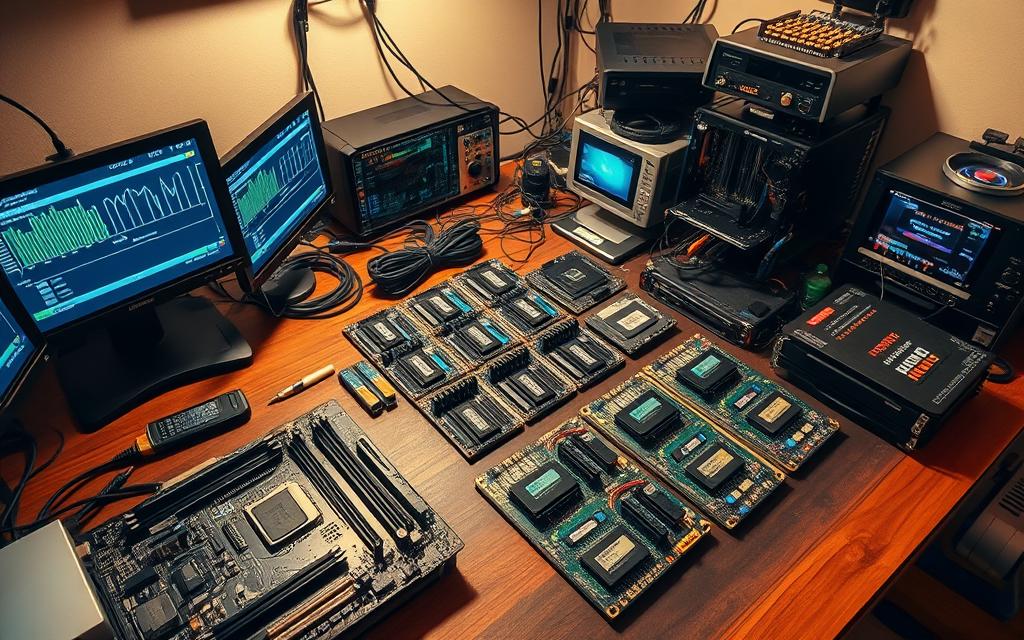
Diagnostic tools fall into two categories: software-based and physical testing. Software tools analyze system health, while physical tests involve inspecting components for damage. Both methods are essential for comprehensive diagnostics.
| Maintenance Task | Frequency | Benefit |
|---|---|---|
| Cleaning cooling systems | Every 3 months | Prevents overheating |
| Updating drivers | Monthly | Enhances performance |
| Running diagnostics | Every 6 months | Identifies potential issues |
By prioritizing maintenance, you can extend the lifespan of your devices and avoid unexpected disruptions. A proactive approach saves time, money, and ensures optimal performance.
Common Hardware Failures and Their Symptoms
Recognizing symptoms of failing parts ensures timely intervention. Over time, components like GPUs, SSDs, RAM, and PSUs can degrade, leading to system instability. Early detection of these hardware issues prevents data loss and costly repairs.

Identifying Common Hardware Issues
Each component exhibits unique failure patterns. For example, a failing GPU may display visual artifacts or cause driver crashes. Similarly, memory problems often result in frequent BSODs or application crashes.
- SSD/HDD: Bad sectors, SMART errors, or slow read/write speeds.
- PSU: Intermittent power, electrical smells, or component stress.
- CPU: Overheating, POST errors, or computation failures.
Understanding the Warning Signs
Warning signs vary depending on the affected part. For instance, a hard drive nearing failure might produce unusual noises or fail to boot. Similarly, cooling system issues often lead to thermal shutdowns or performance drops.
SMART tools are invaluable for detecting hard drive problems early. These tools analyze drive health and provide actionable insights. Addressing these warnings promptly can save you from data recovery costs.
“Early detection of hardware problems is the key to maintaining system reliability.”
By understanding these symptoms, you can take proactive steps to resolve hardware issues before they escalate. Regular diagnostics and maintenance ensure your system remains efficient and reliable.
How to Test for Hardware Failures in a Computer
Effective troubleshooting starts with understanding available diagnostic resources. Whether you’re dealing with slow performance or unexpected crashes, the right tools can pinpoint the issue quickly. Built-in Windows utilities and third-party software offer comprehensive solutions for identifying problems.
Using Built-in Windows Diagnostic Tools
Windows provides several native utilities for system analysis. The Performance Monitor tracks real-time metrics, helping you identify bottlenecks. Custom data collector sets allow you to monitor specific components like RAM or disk usage.
Another essential tool is the Windows Memory Diagnostic. Accessible via mdsched.exe, it checks for RAM errors. Results are logged in the Event Viewer, making it easy to interpret findings. These built-in solutions are convenient for quick checks and basic diagnostics.
Third-Party Diagnostic Applications
For more advanced analysis, third-party software like MemTest86+ and CrystalDiskInfo is invaluable. MemTest86+ performs thorough RAM testing, supporting DDR4 and DDR5 configurations. CrystalDiskInfo monitors disk health, alerting you to potential failures through SMART data.
HWiNFO is another powerful option, offering detailed hardware health dashboards. These applications provide deeper insights compared to native tools, making them ideal for diagnosing complex issues.
“Third-party diagnostics offer precision and flexibility, ensuring no issue goes unnoticed.”
When using these tools, always prioritize security. Download applications from trusted sources to avoid malware. Regular diagnostics not only prevent data loss but also extend the lifespan of your system.
Testing Specific Hardware Components
Accurate diagnostics of individual parts ensures optimal system performance. Identifying issues with components like RAM, drives, and processors can prevent unexpected crashes and data loss. This section provides detailed steps for evaluating key parts of your device.

Evaluating RAM Performance
RAM issues often manifest as frequent crashes or slow system responsiveness. MemTest86+ is a reliable tool for detecting errors. Run an 8-pass test to ensure thorough analysis. Results will highlight faulty modules that need replacement.
For advanced diagnostics, combine MemTest86+ with system logs. This approach provides a comprehensive view of memory health. Addressing RAM problems early can significantly improve stability.
Analyzing Hard Drives and SSDs
Drive failures can lead to data loss or corrupted files. Use chkdsk /r to scan for bad sectors and repair errors. SMART tools like CrystalDiskInfo offer additional insights into drive health.
Manufacturer-specific utilities can further enhance diagnostics. For example, Seagate SeaTools or Samsung Magician provide tailored solutions. Regularly monitoring drive health ensures data integrity and longevity.
Stress Testing CPU and GPU
Processors and graphics cards are critical for system performance. CoreTemp and IntelBurnTest are ideal for CPU stress testing. Monitor temperatures to ensure they stay within safe ranges.
For GPUs, FurMark is a popular benchmarking tool. It evaluates performance under heavy loads while monitoring thermal levels. Identifying overheating or instability early can prevent permanent damage.
| Component | Tool | Key Metrics |
|---|---|---|
| RAM | MemTest86+ | Error count, faulty modules |
| Hard Drive/SSD | chkdsk /r, CrystalDiskInfo | Bad sectors, SMART status |
| CPU | CoreTemp, IntelBurnTest | Temperature, stability |
| GPU | FurMark | Thermal levels, performance |
By focusing on these components, you can maintain a reliable and efficient system. Regular diagnostics and timely interventions ensure long-term performance and prevent costly repairs.
Checking Your Computer’s Battery Health
Maintaining your device’s battery health is essential for long-term performance. Over time, batteries degrade, leading to reduced capacity and shorter usage periods. Regular checks ensure your device remains reliable and efficient.
Windows provides a built-in tool for detailed battery analysis. Use the command powercfg /batteryreport to generate a comprehensive report. This information includes design capacity, current capacity, and charge cycles.

Interpreting the report helps identify potential issues. Compare design capacity with actual capacity to gauge degradation. Charge cycles indicate how often the battery has been used, providing insights into its lifespan.
For advanced diagnostics, PowerShell offers additional commands. These tools provide deeper information about power usage and health. Manufacturer-specific utilities also offer tailored solutions for precise analysis.
“Regular battery health checks prevent unexpected shutdowns and extend device lifespan.”
Optimizing power management settings can further enhance battery life. Adjust brightness, disable unused features, and enable sleep modes to reduce consumption. These small changes make a significant difference over time.
For laptop users, calibration is a practical step to maintain accuracy. Fully charge the battery, then discharge it completely before recharging. This process ensures the system accurately reflects remaining capacity.
| Metric | Tool | Purpose |
|---|---|---|
| Design Capacity | powercfg /batteryreport | Compare with actual capacity |
| Charge Cycles | PowerShell | Assess usage patterns |
| Health Status | Manufacturer Utilities | Detailed diagnostics |
By monitoring and optimizing battery health, you can extend your device’s lifespan and avoid costly replacements. Regular checks and proactive measures ensure consistent performance and reliability.
Diagnosing Hardware Issues with Linux Live CDs
Linux Live CDs offer a powerful way to diagnose system issues without altering your existing setup. These bootable environments provide a flexible solution for identifying problems with your machine. Whether you’re dealing with a failing disk or need to recover data, these tools are invaluable.

Two popular options for hardware diagnostics are PartedMagic and The Ultimate Boot CD. PartedMagic, a paid tool, offers advanced features like disk partitioning and secure erasing. The Ultimate Boot CD, on the other hand, is free and includes a wide range of utilities for system analysis.
Using PartedMagic for Hardware Diagnostics
PartedMagic is a comprehensive toolset for troubleshooting and repairing systems. It includes utilities for disk health checks, file recovery, and stress testing. To use it, create a bootable USB drive using Rufus or similar software.
- Disk partitioning and cloning tools.
- Secure erase for wiping drives completely.
- Network-based diagnostics for remote troubleshooting.
Using The Ultimate Boot CD for Hardware Testing
The Ultimate Boot CD is a free alternative packed with essential tools. It supports both UEFI and Legacy BIOS systems, making it versatile for different setups. Key features include memory testing, disk utilities, and benchmarking tools.
- MemTest86+ for RAM diagnostics.
- HDDScan for drive health analysis.
- CPU stress testing for performance evaluation.
“Linux Live CDs provide a reliable way to diagnose and repair systems without disrupting your primary operating system.”
For advanced users, these environments also support data recovery from unbootable systems. By booting into a Linux Live CD, you can access and salvage files from damaged drives. Additionally, stress testing methodologies help identify hardware instability before it causes major issues.
Security is another consideration when using bootable environments. Always download ISO files from trusted sources to avoid malware. These tools not only diagnose problems but also ensure your system remains secure during the process.
Conclusion
Regular diagnostics and proactive care are essential for maintaining system reliability. By identifying potential issues early, you can prevent costly repairs and extend the lifespan of your components. Investing time in routine checks ensures your device operates efficiently and avoids unexpected disruptions.
For complex problems, advanced monitoring tools and professional services offer tailored solutions. These resources provide deeper insights into system health, enabling you to address vulnerabilities before they escalate. A comprehensive maintenance schedule, combined with the right tools, keeps your system future-proof and reliable.
Start implementing regular diagnostics today to safeguard your device’s performance. Small steps now can save significant time and resources in the long run.
FAQ
What are the most common signs of hardware failures in a computer?
Common signs include frequent crashes, slow performance, unusual noises from the hard drive, overheating, and error messages during boot. These symptoms often indicate issues with components like the RAM, hard drive, or CPU.
How can I use Windows Memory Diagnostic to test RAM?
Open the Start menu, type “Windows Memory Diagnostic,” and select the tool. Choose “Restart now and check for problems.” The system will reboot and run tests to identify any memory-related issues.
What tools can I use to test my hard drive or SSD?
Built-in tools like Windows Check Disk (CHKDSK) or third-party applications such as CrystalDiskInfo can assess the health of your drive. These tools check for bad sectors, file system errors, and overall drive performance.
How do I test my CPU and GPU for potential issues?
Use stress-testing software like Prime95 for the CPU and FurMark for the GPU. These applications push your components to their limits, helping you identify overheating or stability problems.
Can I diagnose hardware issues without an operating system?
Yes, Linux Live CDs like PartedMagic or The Ultimate Boot CD allow you to run diagnostics without booting into your OS. These tools can test RAM, drives, and other components directly from a bootable environment.
How do I check my laptop’s battery health?
On Windows, open Command Prompt and type “powercfg /batteryreport.” This generates a detailed report on your battery’s capacity, usage, and overall health. On macOS, go to System Information > Power for similar details.
What should I do if my computer fails to boot?
Check the power supply, ensure all cables are connected, and try booting into Safe Mode. If the issue persists, use diagnostic tools to test the hard drive, RAM, and other critical components.
Are there any risks involved in hardware testing?
While most diagnostic tools are safe, stress-testing components like the CPU or GPU can cause overheating if not monitored. Always ensure proper cooling and avoid prolonged testing to prevent damage.
 By
By